It was sometime last year that I bought a plain white stool for £5 from the bargain corner at Ikea.
I had some papers from http://decopatchstore.co.uk/ and using their decopatch glue, tearing up the papers and lining up the pattern I covered the stool.
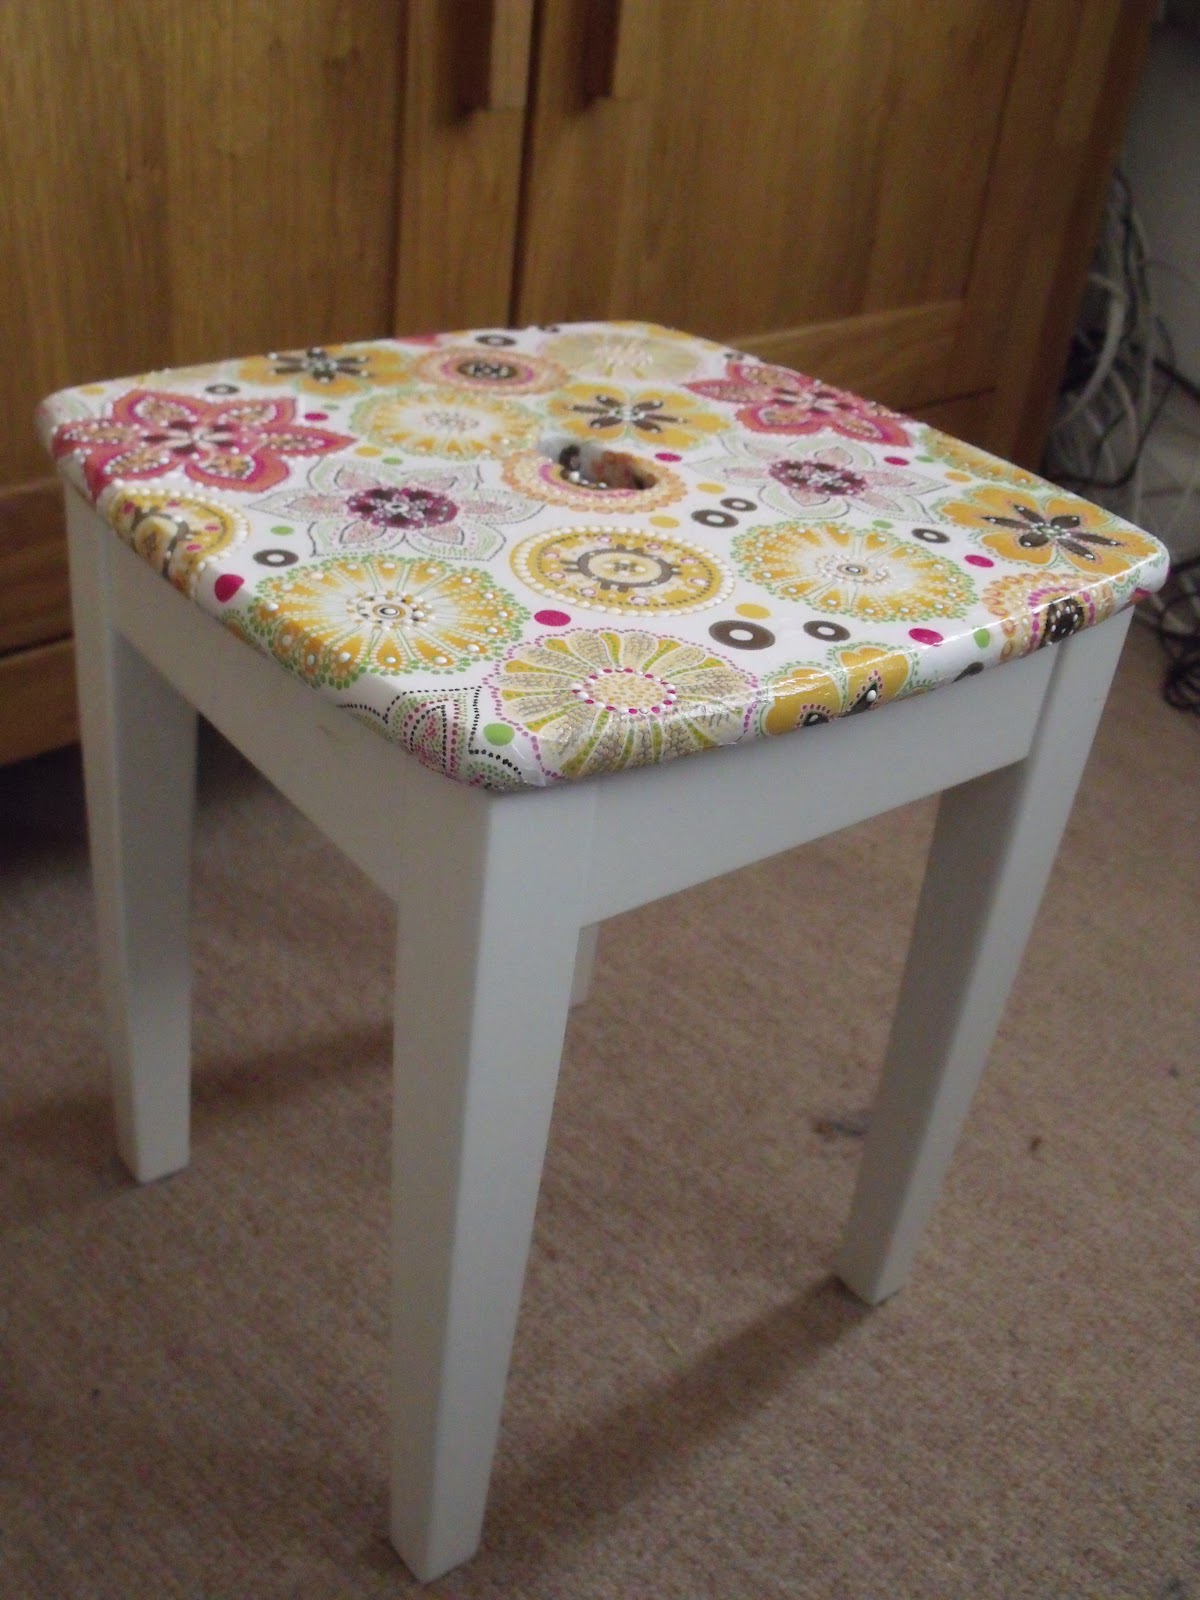

It looked great and I was dead proud and then Leah was messing around with nail polish and remover.

Not quite so impressive.
It's been like this for months and finally today I got around to sorting it out.
Our Summer holiday, we were in Cornwall and we bought an OS map and it was invaluable when it came to all the little country roads. Me and that map had a real close working relationship that week.
It occurred to me that I could put it to use rather than just leaving it in the car, I wanted to give it a new lease of life.
Here's how.
Firstly, I sanded the stool to prepare the surface.
I placed the stool, seat side down on the map and using a ruler drew around it, leaving about an inch extra from the edge for the overhang.

Mod podge, map and sponge brush (I find it easier to use with mod podge and covering a large area).

Being quite generous, I covered 1/3 of the stool with mod podge.

I carefully placed the map on the glue and gently using the handles of some scissors, smoothed down the creases.

I lifted the map back and repeated the process.

I've found this technique works for me.

The map was now glued to the stool, no turning back now!
At this point, I took the time to work on smoothing down the creases as much as I could.
It's not going to be super smooth but it was worth doing what I could.

Now for the sides and the overhang.

I cut through each corner.

I used a very generous amount of glue here and used my fingers to smooth the map into place. It's messy but it was worth paying close attention to getting it fix in place and smoothing down the corners.

Now I could put two coats of the mod podge glue over the map to seal it, making sure I brushed in one direction (other wise it just looks messy).


The whole thing took 30mins from start to finish.
I like that we now have a reminder of a great holiday on what is something we use everyday.
x
No comments:
Post a Comment